


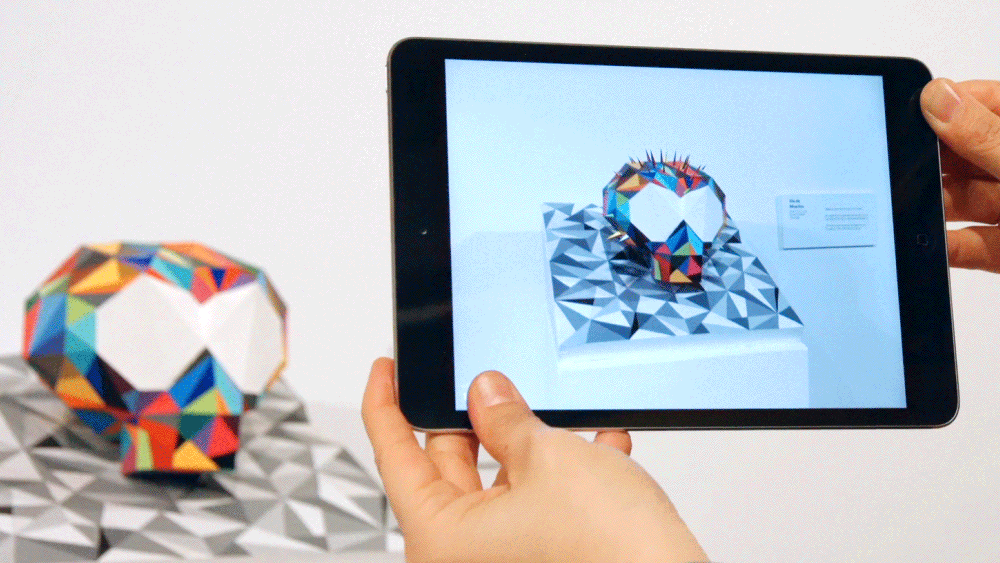
Augmented Reality (AR) is becoming trendy in the tech space right now, and many companies such as IKEA, Coca-cola, and ZARA are adopting these emerging technologies into their marketing lines.
As a web designer/developer, I was extremely fascinated by the number of possibilities that AR has to offer.
However, I had very little knowledge about how they were developed. I was so much excited and wanted to try it out, but I don't know where to start.
I had a good look around, then I found my answer. - AR.JS
Web-Based AR using the AR.js library. For those who want to venture into the AR space, but are intimidated by the amount of complexity it may involve; fret not. You only need to write in a few lines of HTML code, and boom! You can create your very first AR experience in under few minutes!

What is Web-Based AR?
As the name implies, Web-Based Augmented Reality allows users to launch a specialized camera that can detect and display AR objects by just heading to a web link. By creating web-based AR, users do not need to go through the hassle of downloading an additional app just to see the AR in action.
What is AR.js?
AR.js is a lightweight library for Augmented Reality on the Web. It builds on top of the three.js and jsartoolkit library and combines together with A-frame (A library for developing VR for the web) to create the whole AR experience.
It makes use of markers to enable the camera to detect and display the AR object. The amazing thing about this method of doing AR is that it is:
100% web-based.
Very fast even on relatively old phones.
Open-source and free of charge!
It requires only a few lines of code to get it up and running!
 Interesting right! Let's get into it -
First, you need a few things to set up:
Web server to host your HTML code up, or set it up on your own localhost server. Use vscode live server extension.
Then, add the HTML code-
<!doctype HTML>
<html>
<script src="https://aframe.io/releases/0.9.2/aframe.min.js"></script>
<script src="https://raw.githack.com/jeromeetienne/AR.js/2.0.5/
aframe/build/aframe-ar.js"></script>
<body style='margin : 0px; overflow: scroll;'>
  <a-scene embedded arjs>
    <a-box position='0 0.5 0' material='opacity: 0.5;'></a-box>
    <a-marker-camera preset='hiro'></a-marker-camera>
  </a-scene>
</body>
</html>
If you want to preview how it will look like without starting to code, check out an example here.
Amazing! But how does it work?
let's look 👀
- The A-frame and AR.js library is imported through these 2 scripts:
<script src="https://aframe.io/releases/0.9.2/aframe.min.js"></script>
<script src="https://raw.githack.com/jeromeetienne/AR.js/2.0.5/aframe/build/aframe-ar.js"></script>
In the HTML body, we include a-scene from the A-frame library and tell A-frame that we want to initialize AR.js with embedded ar js in the a-scene.
<a-scene embedded arjs>
This envelopes everything that we want to put inside, including the marker, camera, and AR object. To put it simply, A-frame allows 3D models to work on the web, and AR.js transforms the web scene into an AR scene.
- Next, we want to add an object to be included in the . For now, we make use of A-frame’s readily made elements, called primitives.
<a-box position='0 0.5 0' material='opacity: 0.5;'></a-box>
You can experiment with other primitives that are available on A-frame’s library. Here are a few examples that you can use to replace the :
<a-sphere position="0 1.25 -5" radius="1.25" color="#EF2D5E"></a-sphere>
<a-cylinder position="1 0.75 -3" radius="0.5" height="1.5" color="#FFC65D"></a-cylinder>
<a-plane position="0 0 -4" rotation="-90 0 0" width="4" height="4" color="#7BC8A4"></a-plane>
Finally, we tell A-Frame that we want ar js to control the camera by adding:
<a-marker-camera preset='hiro'></a-marker-camera>
the uses a preset marker called hiro which is the marker available in the AR.js library.
Outro:
Done! Of course, there is much more to play around with the A-frame scene, like adding in animations, adding interaction to the objects, and adding your own custom 3D model to the scene.
I hope it gives a simple understanding of using AR on the web and the possibility of it.
You can know more about the full capabilities that AR.js provides here, and A-frame documentation here.
Do experiment, it's fun to do, and get creative.
Happy Learning
-JHA